
SMM Panel with EasyPaisa: How Adding Funds Works
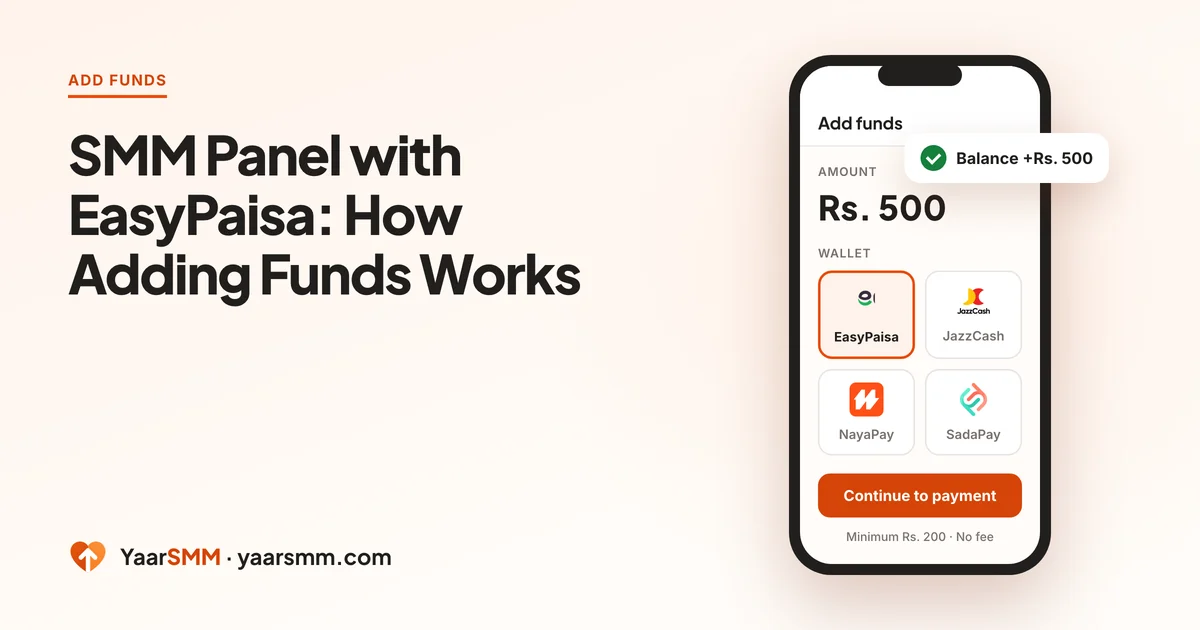
EasyPaisa is the wallet most people in Pakistan already have open on their phone, so it is the natural way to put money into an SMM panel. The process takes about two minutes, and most problems come from one skipped step. Below is every screen in order, with the places people usually slip.
How the payment page fits in
YaarSMM does not take EasyPaisa transfers to a phone number. Each top-up is created on the Add funds page and paid on Cashmaal’s payment page, which is a Pakistani payment gateway that accepts EasyPaisa, JazzCash, NayaPay, SadaPay and bank transfer.
A bare transfer to a number arrives with no reference, so nobody can tell whose balance it belongs to. The payment page ties your payment to one top-up on one account.
- What you see: your YaarSMM Add funds page, then a page on cashmaal.com, then your EasyPaisa app.
- What it costs: nothing extra. You send the same amount you want on your balance.
- What you need: an EasyPaisa account with enough balance, and your YaarSMM login.
Adding funds with EasyPaisa, screen by screen
1. Choose the amount
Open Add funds in your YaarSMM account and type the amount. The minimum is Rs. 200. If you are trying the panel for the first time, a small first top-up is sensible: it proves the route works before you put in more.
2. Pick EasyPaisa and continue
Select the EasyPaisa tile and press Continue to payment. The browser moves to Cashmaal’s page for this top-up. Keep this tab open until the very end.
3. Send the amount shown
The payment page tells you how much to send and where. Send that exact amount from your EasyPaisa app. It is the same number you typed on YaarSMM: Rs. 500 for a Rs. 500 top-up, Rs. 1,000 for Rs. 1,000.
4. Copy the transaction ID
When EasyPaisa confirms the transfer, it shows a receipt with a transaction ID. Copy it. This number is the only thing that links your EasyPaisa payment to your YaarSMM top-up.
5. Paste it into Enter T-ID and press Verify
Go back to the payment page tab, paste the number into the Enter T-ID box and press Verify. Once it is verified, your YaarSMM balance updates by itself.
The amount, the timer and the receipt
- The amount: send what the page shows, no more and no less. A different amount can leave the payment unmatched.
- The timer: the payment page expires after 30 minutes. Start the top-up when you are ready to pay, not before you have checked your EasyPaisa balance.
- The receipt: keep the EasyPaisa receipt until the money is on your balance. It is your proof if anything needs checking.
Four mistakes that cost a top-up
- Paying before the page opens. Sending money to a number you remember from last time, without opening a new top-up, leaves the payment with nothing to attach to. Start every top-up from Add funds, even if you have paid before.
- Opening two top-ups for one payment. If the page seems slow and you press Continue to payment again, you create a second, empty top-up. It costs nothing and expires on its own, but only one of them should receive your money. Pay once, on the page that is open.
- Sending a rounded amount. Typing Rs. 500 on YaarSMM and sending Rs. 550 “to be safe” does not add Rs. 550. Send the figure the page shows.
- Leaving before Verify. EasyPaisa shows a success screen, the job feels done, and the payment page tab is forgotten. The transaction ID still has to go back into that page.
None of these lose your money. They just mean the payment has to be matched by hand instead of automatically, which takes longer.
A worked example
Say you want to try Instagram followers and the service’s minimum order costs less than Rs. 200. You add Rs. 200, pick EasyPaisa and continue. The payment page asks for Rs. 200. You send Rs. 200 from EasyPaisa, copy the Transaction ID from the receipt, paste it into Enter T-ID and press Verify. Your YaarSMM balance shows Rs. 200, and you place the order from it. The leftover stays on your balance for the next order.
If the balance has not moved
If the money has left EasyPaisa and your balance has not changed, go back to the payment page and check that the transaction ID went into the box and that you pressed Verify. A skipped verification is the most common reason a payment waits.
If it still does not show, open Add funds and use Already paid? Send your receipt. Enter the transaction ID, the amount and the time you paid, attach the receipt, and it gets checked against your account. Do not send the same money a second time while you wait.
We do not run the payment page, so its timer and wording are Cashmaal’s. If the page shows a message you do not recognise, stop before paying and contact support with a screenshot rather than guessing.
After the balance shows
Your balance pays for every order, one at a time, and nothing is taken until you confirm an order. Before you spend it, compare the price per unit and the minimum order of the service you want on the price list. The add-funds page keeps the same steps on one screen if you want them as a checklist next time.
Questions
Can I pay straight from my EasyPaisa app without the payment page?
No. Every top-up starts on the Add funds page, which opens Cashmaal's payment page for that exact amount. Money sent to a number without that page has no top-up attached to it and cannot be matched to your account automatically.
Is there a fee for adding funds with EasyPaisa?
No. You send exactly the amount you want on your balance. Rs. 500 sent means Rs. 500 credited.
What is the smallest amount I can add?
Rs. 200. You can add any amount above that, and a larger top-up works the same way.
How long until the balance shows?
Once the payment is verified it updates on its own. If you skipped the Verify step, it will not move until the transaction is matched, so check that step first.
Ready when you are.
Create a free account